How to Make Gut Healthy Marshmallows at Home
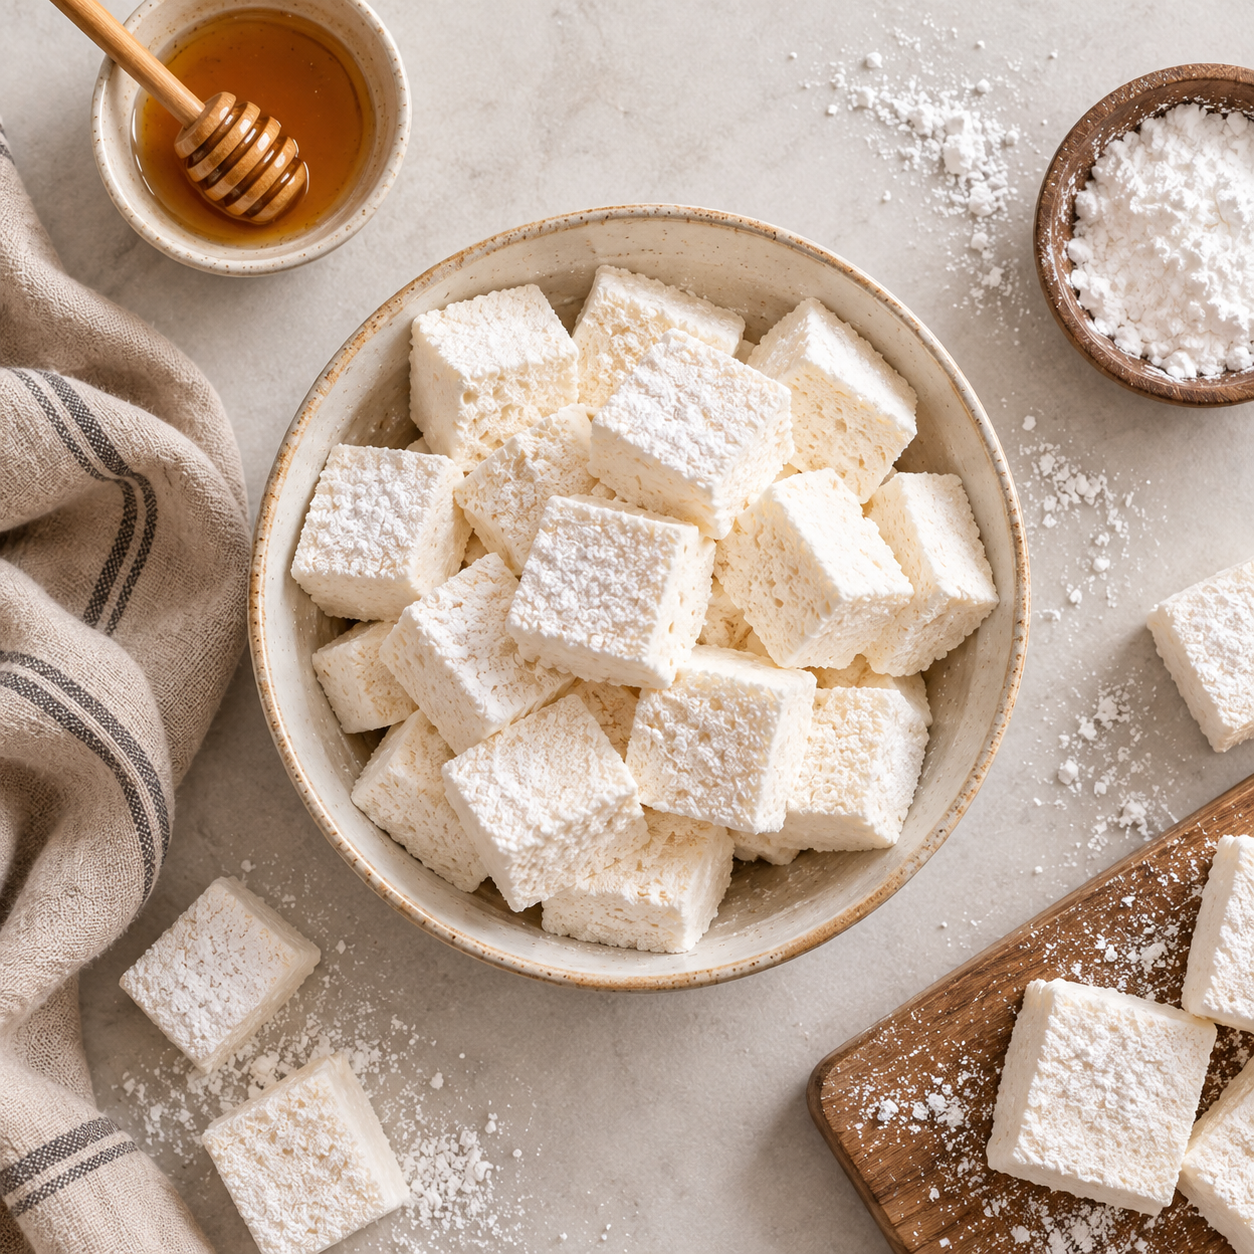
Soft, fluffy homemade marshmallows are surprisingly simple to make—and when you make them yourself, you have complete control over what goes into them.
Traditional store-bought marshmallows are typically made with corn syrup, refined sugar, gelatin, and added flavors or colors. This homemade version keeps things simple with grass-fed gelatin, honey, vanilla, and a few basic ingredients.
Gelatin gives these marshmallows their signature fluffy texture while providing collagen-derived amino acids like glycine and proline. They're simple, delicious, and a more nourishing take on the classic treat.
And the best part? Once you master the basic recipe, there are so many ways to customize it.
What Makes These Marshmallows Gut-Friendly?
The star ingredient in this recipe is gelatin. Gelatin is produced from collagen and contains amino acids, including glycine and proline, that the body uses for a variety of structural and physiological functions.
Gelatin may also support normal digestion in practical ways because of its unique ability to absorb liquid and form a gel.
That's why I prefer to think of these as a healthy gut-conscious alternative to conventional marshmallows rather than a gut-health treatment.
Simple Ingredients
One of the biggest benefits of making marshmallows at home is knowing exactly what's in them. This version skips corn syrup, artificial colors, and artificial flavors and relies on a short ingredient list of gelatin, honey, vanilla, water, and sea salt.
Naturally Sweetened With Honey
Honey replaces the refined white sugar and corn syrup commonly used in marshmallows. Honey contains small amounts of antioxidants and other bioactive compounds, but it is still a form of added sugar.
Tips for Perfect Homemade Marshmallows
Don't Skip Blooming the Gelatin
Blooming allows the gelatin to absorb water before you add the hot syrup. Sprinkle it evenly across the water rather than dumping it into one spot to help prevent clumps.
Use a Candy Thermometer
You can make marshmallows without one, but a candy thermometer takes away much of the guesswork. Aim for around 240°F. The temperature of your syrup affects how much water remains in the mixture and therefore how firm your finished marshmallows become.
Watch the Texture While Whipping
Whipping times can vary depending on your mixer and kitchen temperature. Instead of relying solely on the clock, look at the mixture. It should become noticeably lighter, thicker, and fluffy and begin pulling away from the sides of the bowl.
Work Quickly
Once the marshmallow mixture has been whipped, don't let it sit in the mixing bowl for too long. Gelatin begins setting as it cools. Have your pan prepared before you start making the syrup.
Control the Stickiness
Homemade marshmallows are naturally sticky. Arrowroot or tapioca starch makes them much easier to cut and store. You can also lightly grease your knife or kitchen scissors before cutting.
Choose the Right Type of Sweetener
The type of sweetener you use matters when making homemade marshmallows. Liquid sweeteners like honey, maple syrup, agave, or coconut nectar work particularly well because they help create the smooth syrup needed for a soft, fluffy marshmallow texture.
Granulated sweeteners like cane sugar or coconut sugar can also be used, but they aren't a direct 1:1 substitute because they contain no water and require different liquid ratios and preparation. Sugar alternatives like stevia and monk fruit also can't simply replace honey because they provide sweetness without the bulk and structure needed for marshmallows.
For the easiest substitution, stick with a liquid sweetener and replace the honey 1:1, keeping in mind that different options may slightly change the flavor, color, and final texture.
Ways to Customize
Try Different Flavors
Once you've mastered vanilla marshmallows, the basic recipe becomes a blank canvas!
Chocolate Marshmallows
Add 2–3 tablespoons of unsweetened cocoa powder during the final few minutes of whipping.
You can also dust the finished marshmallows with a mixture of cocoa powder and arrowroot starch.
Cinnamon Marshmallows
Add ½–1 teaspoon cinnamon with the vanilla.
Peppermint Marshmallows
Replace some or all of the vanilla with ¼–½ teaspoon peppermint extract. Start small—peppermint extract can become overpowering quickly.
Strawberry Marshmallows
Grind freeze-dried strawberries into a fine powder and add 2–3 tablespoons toward the end of whipping. Freeze-dried fruit is preferable to fresh fruit here because it adds flavor without introducing much extra liquid, which can interfere with the marshmallows setting.
Matcha Marshmallows
Whisk 1–2 teaspoons culinary-grade matcha into the mixture toward the end of whipping for an earthy green-tea variation.
Try Different Toppings
You can also customize the outside without changing the marshmallow base.
Try coating them in toasted coconut, cocoa powder, finely crushed freeze-dried fruit, cinnamon, cacao nibs, or finely chopped nuts.
For something more indulgent, dip half of each marshmallow in melted dark chocolate and allow it to set
How to Store Homemade Marshmallows
Store your marshmallows in an airtight container at room temperature with a little arrowroot or tapioca starch between the layers to prevent sticking.
They're generally best enjoyed within about 1–2 weeks.
Avoid storing them in the refrigerator if possible. Refrigeration can introduce moisture and make their texture sticky.
Ingredients
3 tablespoons unflavored grass-fed gelatin
1 cup filtered water, divided
1 cup honey
1 teaspoon vanilla extract
¼ teaspoon sea salt
Arrowroot starch or tapioca starch, for dusting
Instructions:
1. Prepare your pan. Lightly grease an 8x8-inch baking dish with coconut or avocado oil. Line it with parchment paper, then lightly dust the parchment with arrowroot or tapioca starch.
2. Bloom the gelatin. Pour ½ cup of the water into the bowl of a stand mixer. Sprinkle the gelatin evenly over the surface and let it sit for about 5–10 minutes. It will absorb the water and develop a thick, gel-like consistency.
3. Make the honey syrup. Add the remaining ½ cup water, honey, and sea salt to a small saucepan. Bring the mixture to a gentle boil over medium heat.
For the most consistent marshmallow texture, use a candy thermometer and cook the syrup until it reaches approximately 240°F, or the soft-ball stage.
4. Whip the marshmallows. Turn your mixer on low and slowly pour the hot honey mixture into the bloomed gelatin.
Once incorporated, gradually increase the mixer to high.
Whip for approximately 8–12 minutes, or until the mixture becomes thick, glossy, pale, and fluffy. It should roughly triple in volume and form soft ribbons when the whisk is lifted.
Add the vanilla during the final minute of mixing.
5. Transfer to your pan. Working quickly, spread the marshmallow mixture into your prepared baking dish. A lightly greased silicone spatula can make this much easier because the mixture becomes sticky quickly.
Smooth the top and dust lightly with additional arrowroot or tapioca starch.
6. Let them set. Allow the marshmallows to sit uncovered at room temperature for at least 4–6 hours, preferably overnight.
7. Cut and enjoy. Remove the marshmallow slab from the pan and cut it into squares using a lightly greased knife or kitchen scissors.
Toss the individual marshmallows in a little additional arrowroot or tapioca starch to prevent sticking.
